Introduction to Drywall Painting
When it comes to home improvement projects, few tasks are as impactful as drywall painting. Given the pivotal role drywall plays in shaping the interior aesthetics of a home, understanding the nuances involved in its painting can elevate both the appearance and longevity of your walls. The journey of drywall painting extends beyond merely applying color; it encompasses selecting the right materials, meticulous preparation, and mastering techniques that ensure a professional finish.
Understanding Drywall Materials
Before diving into the painting process, it’s crucial to understand the materials you’re working with. Drywall, or gypsum board, is a construction material primarily used for creating interior walls and ceilings. It consists of a soft core of gypsum surrounded by a thick layer of paper. This composition provides several benefits including fire resistance, sound insulation, and ease of installation. However, each of these properties presents unique challenges during the painting process.
Drywall comes in various types, such as standard, moisture-resistant, and fire-rated. Each type requires specific considerations regarding paint choice and application methods. Standard drywall is most common for interior spaces, while moisture-resistant drywall should be used in bathrooms and kitchens. Understanding the specifics of the drywall type will inform how you approach painting, especially in terms of preparation and primer selection.
The Importance of Preparation in Drywall Painting
Preparation is often cited as one of the most critical steps in any painting project. For drywall, this is especially true. Proper preparation ensures that paint adheres well and results in a smooth, professional-looking finish. The preparation process includes several key steps:
- Cleaning: Dust and dirt can lead to poor adhesion. It’s essential to clean the surface using a vacuum or a damp cloth.
- Repairing Imperfections: Fill in holes or blemishes with joint compound and sand to create an even surface. Pay special attention to seams and fasteners, which often stand out if not blended properly.
- Sanding: Lightly sand the entire surface after repairs. This step helps remove any rough spots created by the joint compound, ensuring a smooth area for painting.
- Priming: Applying a primer is crucial for providing an even base layer of color. This helps in sealing the joint compound and allows for better paint adhesion.
Essential Tools for Drywall Painting
Having the right tools at your disposal can make a significant difference in the outcome of your drywall painting project. Investing in quality tools not only saves time but also enhances the overall finish.
Paint Types Best Suited for Drywall
The type of paint you choose can make or break your drywall painting efforts. Two primary categories of paint suitable for drywall are latex and acrylic paints. Latex paints are water-based, easy to clean, and offer good durability, making them a popular choice for interior walls. Acrylic paints, on the other hand, are more robust and provide excellent adhesion and color retention.
For drywall specifically, opt for a flat or eggshell finish. Flat paint helps minimize imperfections, while eggshell offers a subtle sheen that’s easier to wash. It’s also essential to consider using a paint that is specifically formulated for drywall, as these typically include additives that improve coverage and reduce absorption.
Tool Selection: Brushes, Rollers, and More
The tools you use for applying the paint are just as important as the paint itself. Here’s a rundown of essential tools for a successful drywall painting project:
- Paint Roller: A high-quality roller cover with a fine nap is ideal for smooth surfaces, ensuring an even coat.
- Brushes: Use angled brushes for cutting in around edges, door frames, and ceilings. A 2.5-inch angled brush is often recommended for its versatility.
- Tray and Liners: A roller tray allows for easy loading of paint onto the roller, while liners simplify cleanup.
- Drop Cloths: Protect your floors and furniture with drop cloths to catch drips and spills.
- Painter’s Tape: Use this to create clean lines and prevent paint from bleeding onto adjacent surfaces.
Buying Quality Paint and Supplies
To achieve a professional finish, it’s vital to source quality paint and supplies. Consider purchasing from trusted home improvement stores, where knowledgeable staff can provide guidance based on your specific needs. Buying in-store allows you to look at color swatches and receive advice on paint match and formulation. Planning ahead will save costs associated with purchasing subpar materials, generating additional expenses down the line for repainting or touch-ups due to issues like poor adherence or uneven coverage.
Step-by-Step Process for Painting Drywall
Now that you are equipped with an understanding of drywall materials, preparation, and the necessary tools, it’s time to dive into a detailed step-by-step guide for executing a successful drywall painting project.
Preparing Your Walls for Painting
After assembling your tools and selecting your paint, the next step is thorough preparation of your walls:
- Clean the Surface: Begin by cleaning the drywall with a damp cloth or a vacuum to remove dust and debris.
- Make Repairs: Fill any holes or imperfections using joint compound. Spread it evenly with a putty knife and allow it to dry completely.
- Sanding: Once the repairs are dry, sand the area smooth. Aim for a level surface, blending the patched area with the surrounding drywall.
- Dust Removal: After sanding, remove the dust with a vacuum or damp cloth to prevent it from interfering with paint adhesion.
- Priming: Apply a primer specifically designed for drywall. This step is critical, especially if you’ve made extensive repairs, as it helps seal the surface and improves paint coverage.
Priming Techniques for Optimal Coverage
Primer application is a pivotal stage in the drywall painting process. Follow these techniques for best results:
- Application Method: Use a roller to apply primer to large areas, and a brush for edges and corners. A ⅜-inch nap roller works well for most textured surfaces.
- Thin Coats: Apply primer in thin, even coats, avoiding heavy applications that can lead to drips and an uneven finish.
- Dry Time: Ensure the primer is completely dry before applying the first coat of paint. Refer to the manufacturer’s instructions for specific drying times.
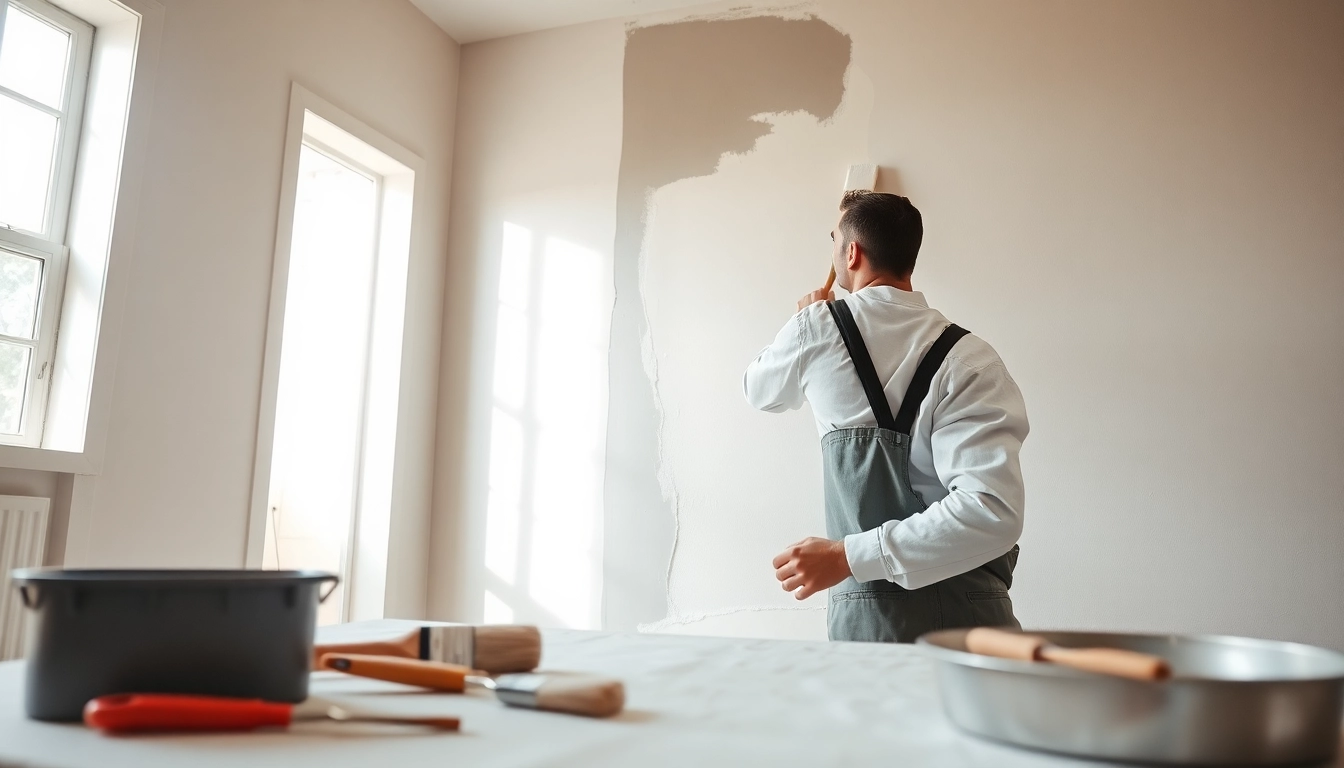
Applying Paint: Techniques and Tips
With your walls prepped and primed, it’s time to apply the paint:
- Cut In: Begin by using a brush to “cut in” around edges, corners, and areas where the roller cannot reach. This step involves painting approximately 2-3 inches along the edges.
- Roll the Walls: Using a roller, apply paint in sections, working from top to bottom. Use a zigzag pattern to ensure even coverage before rolling it out smoothly.
- Multiple Coats: Depending on the color you’ve chosen and the previous color, you may need 2-4 coats. Allow each coat to dry thoroughly before applying the next.
- Final Touch-Ups: After the final coat, inspect for any missed areas or uneven patches. Use a small brush for touch-ups as needed.
Advanced Tips for a Professional Finish
To elevate your drywall painting from average to exceptional, consider the following advanced tips:
Common Mistakes to Avoid
Awareness of common pitfalls can save time and frustration:
- Skipping Primer: Never skip the primer; it’s essential for achieving an even finish.
- Poor Cleaning: Inadequate cleaning can lead to paint not adhering properly, resulting in peels and bubbles.
- Rushing the Process: Each step, especially drying time, is vital to ensuring quality. Rushing can create imperfections.
How to Achieve Texture in Your Paint Finish
For those looking to add a touch of character to painted walls, texture can be an incredible option:
- Textured Rollers: Utilize textured rollers to create patterns while you paint.
- Stippling: A stippling brush can be effective for fostering a multi-dimensional effect.
- Sponge Painting: Using a damp sponge to dab lightly into wet paint can create a softer, mottled appearance, adding depth.
Finishing Touches: Trimming and Touch-ups
Once the paint is dry, don’t forget the finishing touches:
- Remove Tape: Carefully remove painter’s tape while the paint is still slightly tacky to prevent peeling.
- Install Baseboards: If applicable, now is the time to install or paint baseboards for a completed look.
- Final Inspection: Inspect for missed spots and apply touch-ups where necessary for a polished finish.
Maintenance and Care for Painted Drywall
After investing time and effort into painting your drywall, proper maintenance is essential to retain its appearance and durability over time.
Cleaning and Caring for Painted Surfaces
To keep your drywall looking its best:
- Regular Dusting: Dust walls regularly to remove surface dirt that can dull the finish.
- Spot Cleaning: Use a soft sponge or cloth with mild detergent to clean any stains or marks. Avoid harsh chemicals that could damage the paint.
- Protection: Consider using extra protection such as furniture pads to prevent scuffs from furniture against the walls.
How to Repair Damage to Drywall Paint
Over time, wear and tear can occur. Here’s how to address common issues:
- Scratches: Light scratches can often be touched up with paint. Use a small brush to apply paint directly over the scratch.
- Dents or Holes: For larger damage, fill holes with joint compound, sand it smooth, prime, and repaint the area to match.
When to Repaint: Signs and Recommendations
Repainting is a necessary part of home upkeep. Look for the following signs that indicate it may be time to repaint:
- Fading Colors: If your paint appears dull or faded, it’s time for a refresh.
- Stains and Marks: If stains or marks can’t be cleaned off, repainting may be the best option.
- Peeling or Cracking: Any peeling paint indicates an underlying issue that needs addressing while also requiring a new coat of paint.
Conclusion
Mastering drywall painting is both an art and a science. From selecting the right materials to navigating the intricacies of the painting process, each step plays a vital role in achieving a home’s aesthetic appeal. Armed with the right knowledge and tools, any homeowner can enhance their space through thoughtful drywall painting. Investing time in preparation, employing best practices in technique, and remaining vigilant in maintenance will ensure that your painted walls remain beautiful and functional for years to come.